Hello!
If you have found yourself on this page you have likely purchased one of my felting kits, so THANK YOU! Keep scrolling for some tips I have found to be useful over the years and links to my recommended tools of the trade.
A FEW TIPS FOR WORKING WITH WOOL
1. START SMALL.
Work with small amounts of wool at a time. Build a solid/firm core first, or wrap tightly around the wire on the first pass, then add layers to achieve the desired size or shape rather than trying to needle a large loose puff of wool down to a felted shape (which can be quite frustrating). This applies to color application too: layering small patches or “washes” of color allow more control of saturation and blending.
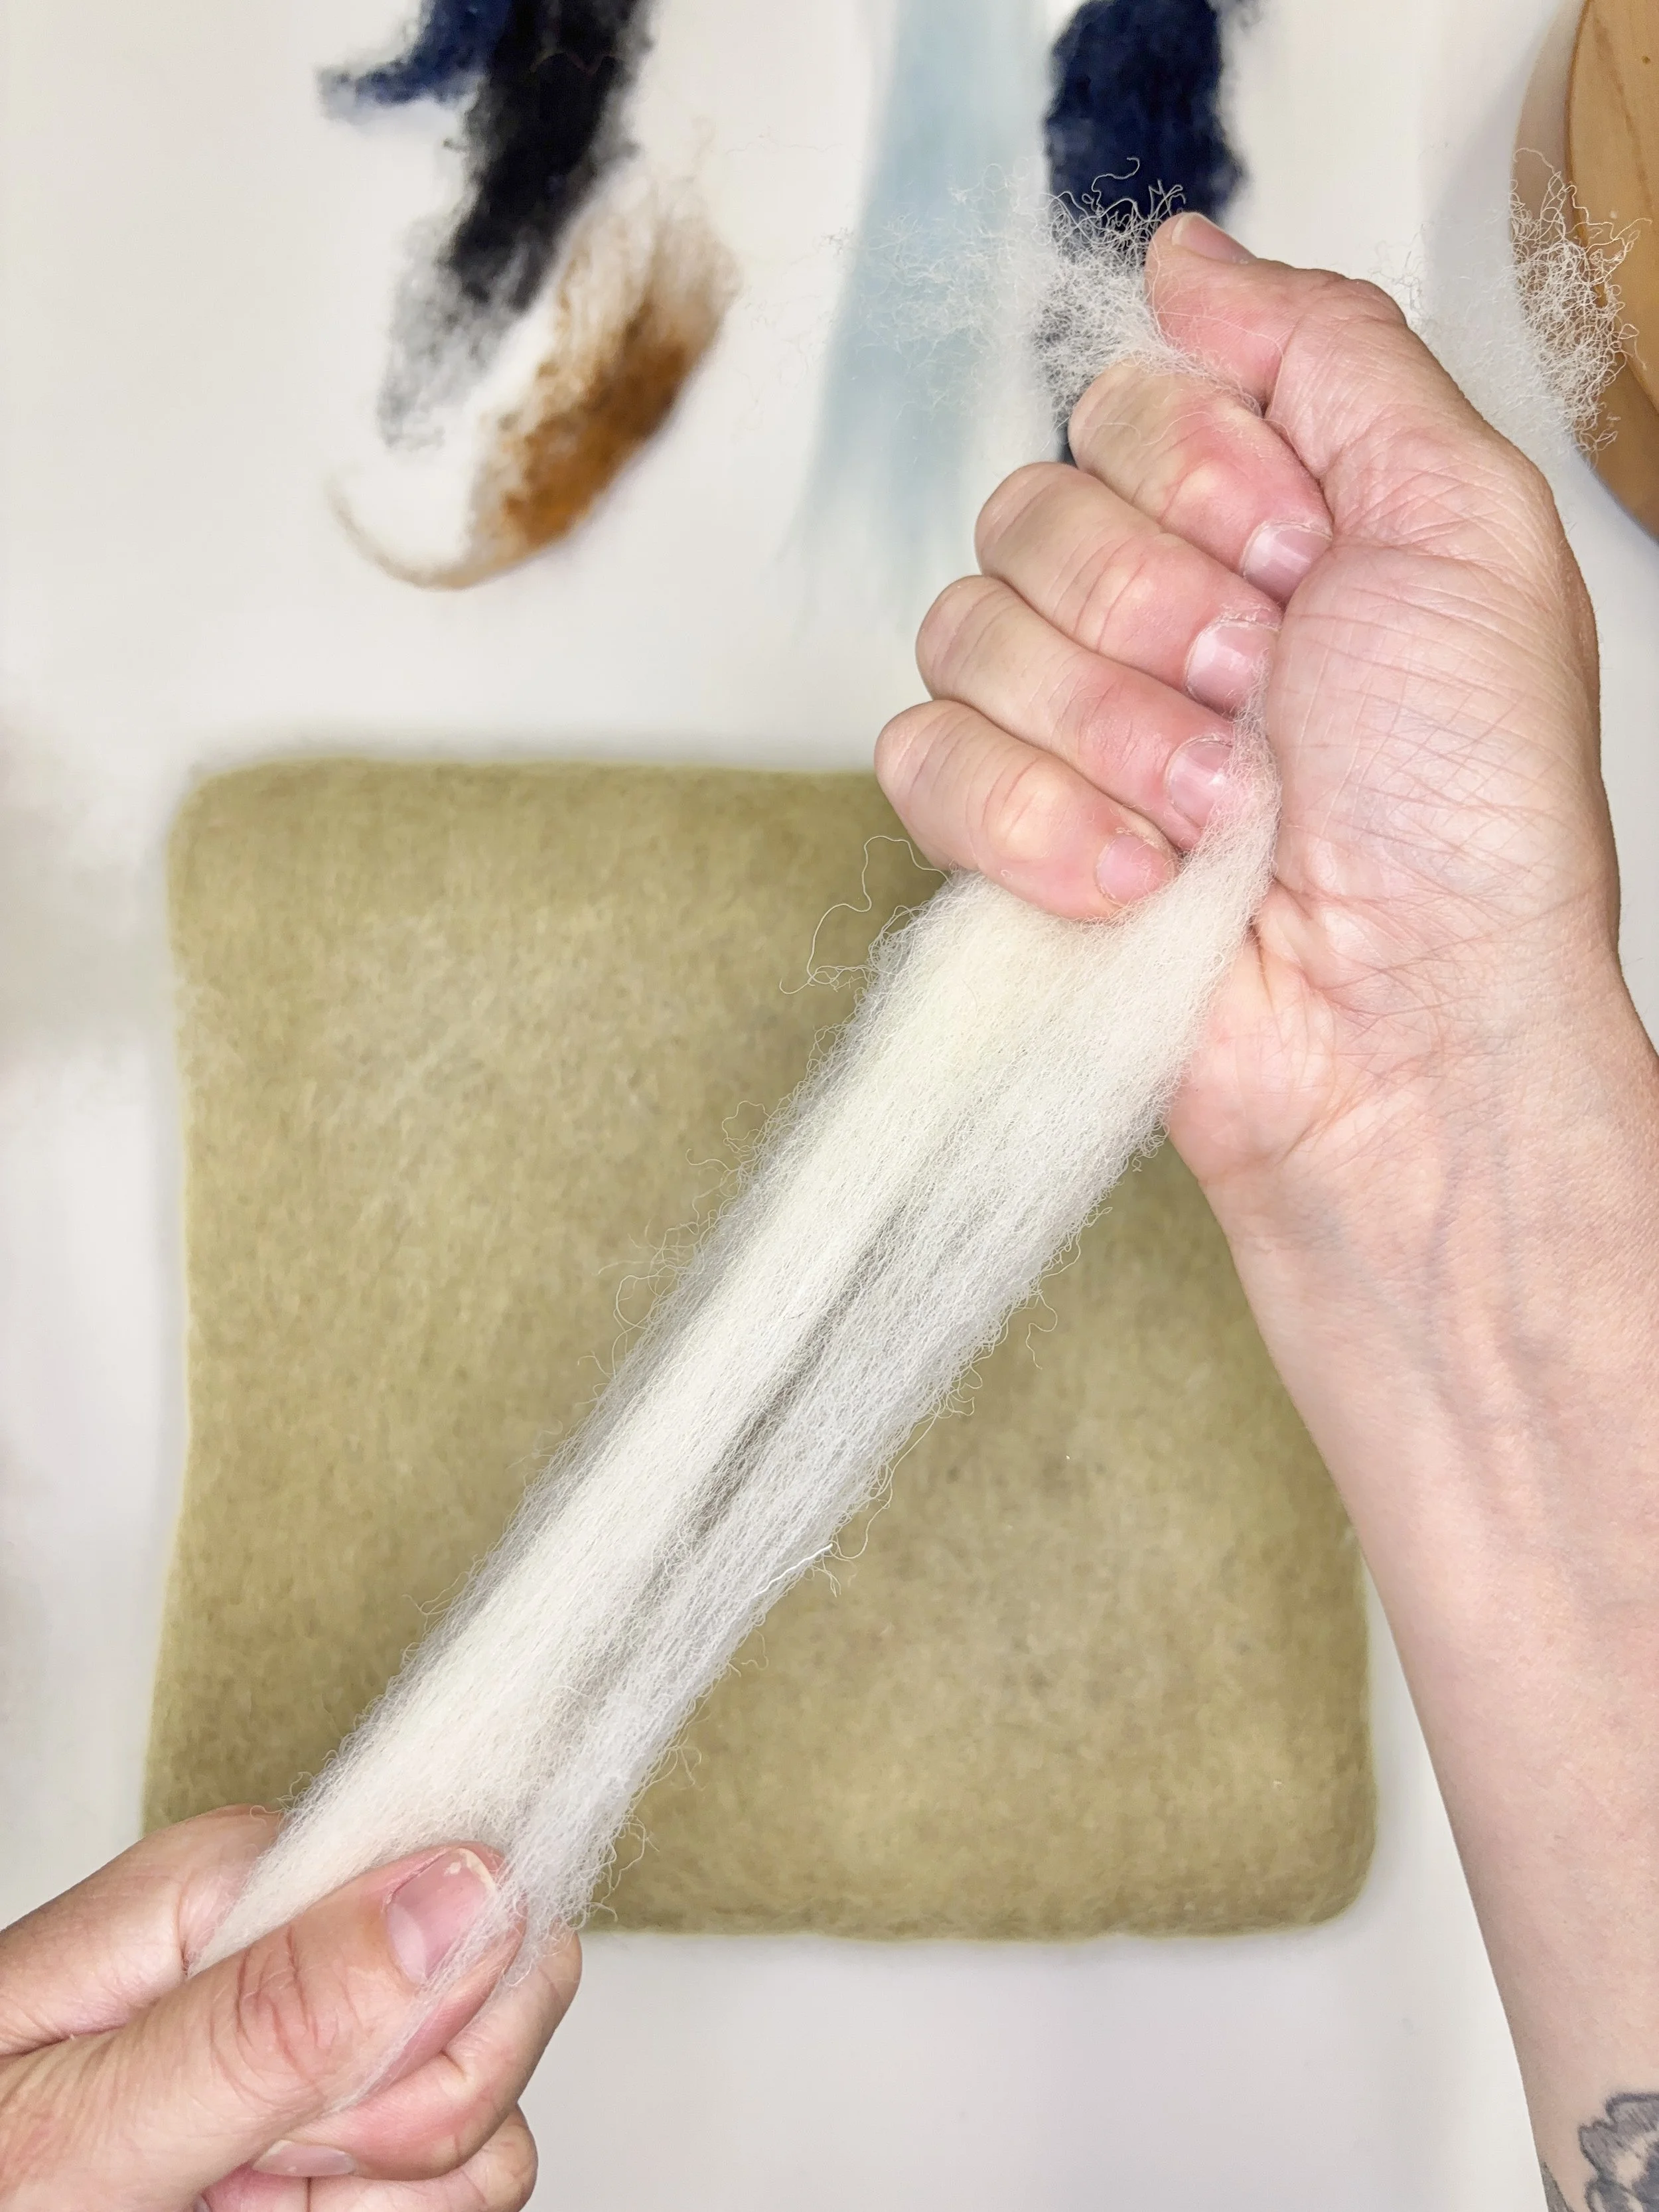
To separate wool into smaller sections, pull lengthwise holding the wool with a hand at each end (the closer your hands are to the middle the harder it will be to pull apart). Repeat and pull apart each new section. Sections will get smaller with each pull.
2. IT’S ALL ABOUT THE POKING.
Felting needles have notches in the last inch of the needle tip. Every time you poke the needle into the wool these notches grab fibers and entangle them. With the repetitive motion of poking, the more entangled the fibers will become, and the more dense your felted wool will become. If those notches aren’t going into the fiber, they aren’t doing their job. In other words, if you aren’t poking, you aren’t felting. SO, JUST KEEP POKING!
3. FELTING 3D OBJECTS.
Keep moving! As you work, turn your shape over and around, poking the wool straight in and straight out from all angles - every surface is important. Give every bit of your shape equal attention. If you linger too long in one position, you will likely turn your 3D object into 2D.
The direction you are poking your needle is the direction the material will go.
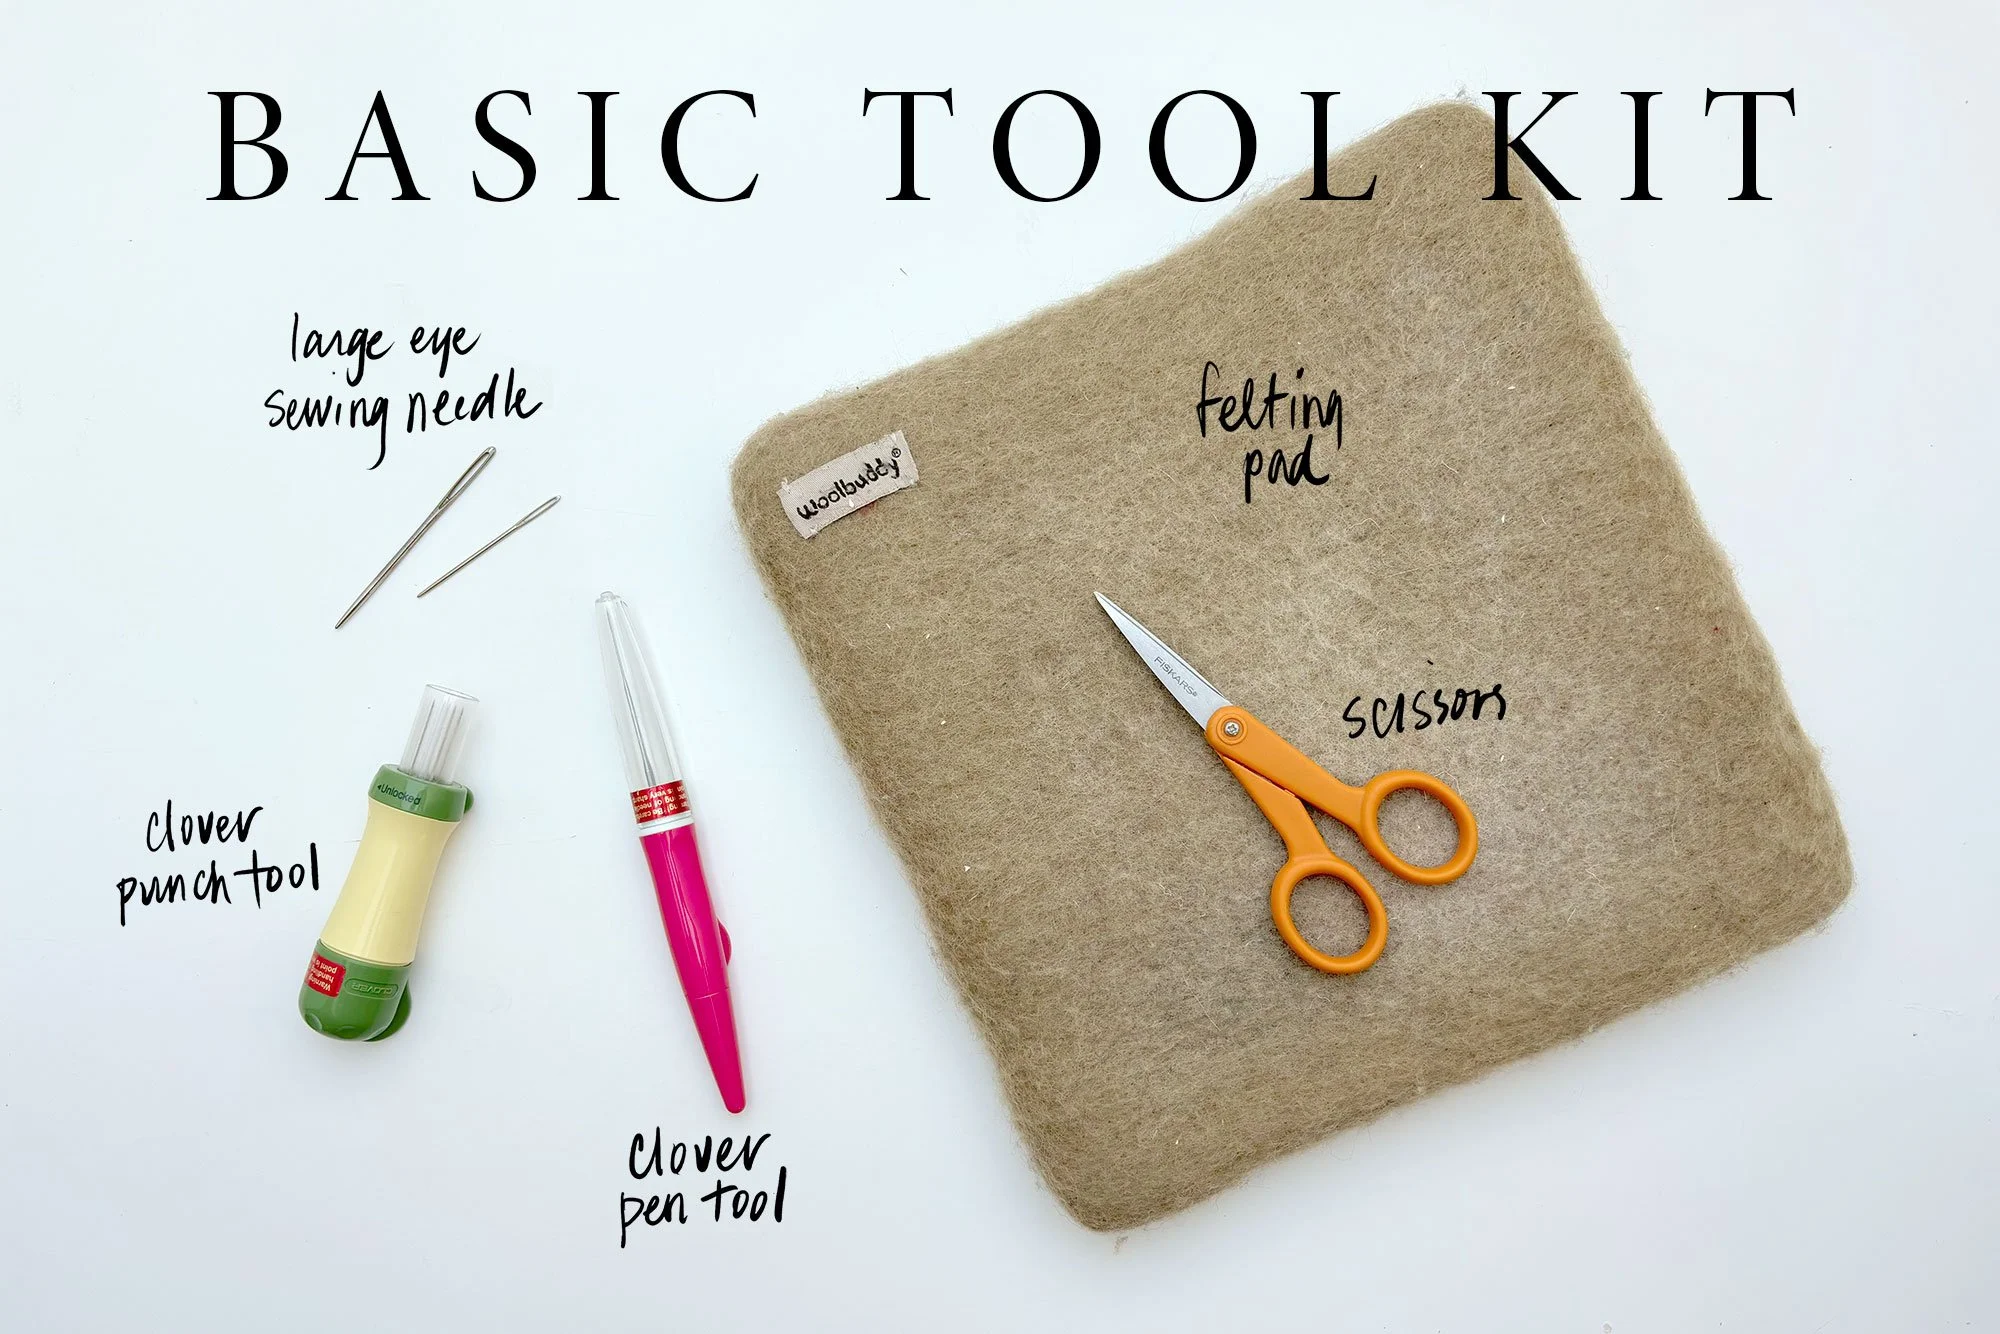
BASIC TOOL KIT FOR THE FREQUENT FELTER
RECOMMENDED TOOLS
Many of the tools below are also available on amazon.com if not available via links below.
Clover Pen Felting Tool (holds up to 3 needles in a comfortable grip)
Clover Punch Tool (holds 5 needles, great for finishing surfaces evenly and for 2D elements)
Woolbuddy Felting Mat (lasts longer than foam)
Upholstery Needle (or similar large eyed needle for attaching ornament hanging loops)
MATERIALS & RESOURCES
I’m a firm believer in supporting small and local businesses whenever possible. Here are a few of my favorite small biz fiber shops that carry felting tools, fiber, and other supplies for all your felting needs.
Port Fiber (Portland, ME)
Halcyon Yarn (Bath, ME)
Sarafina Fiber Art (MD)
SHOP THIRDLEE FELTING KITS
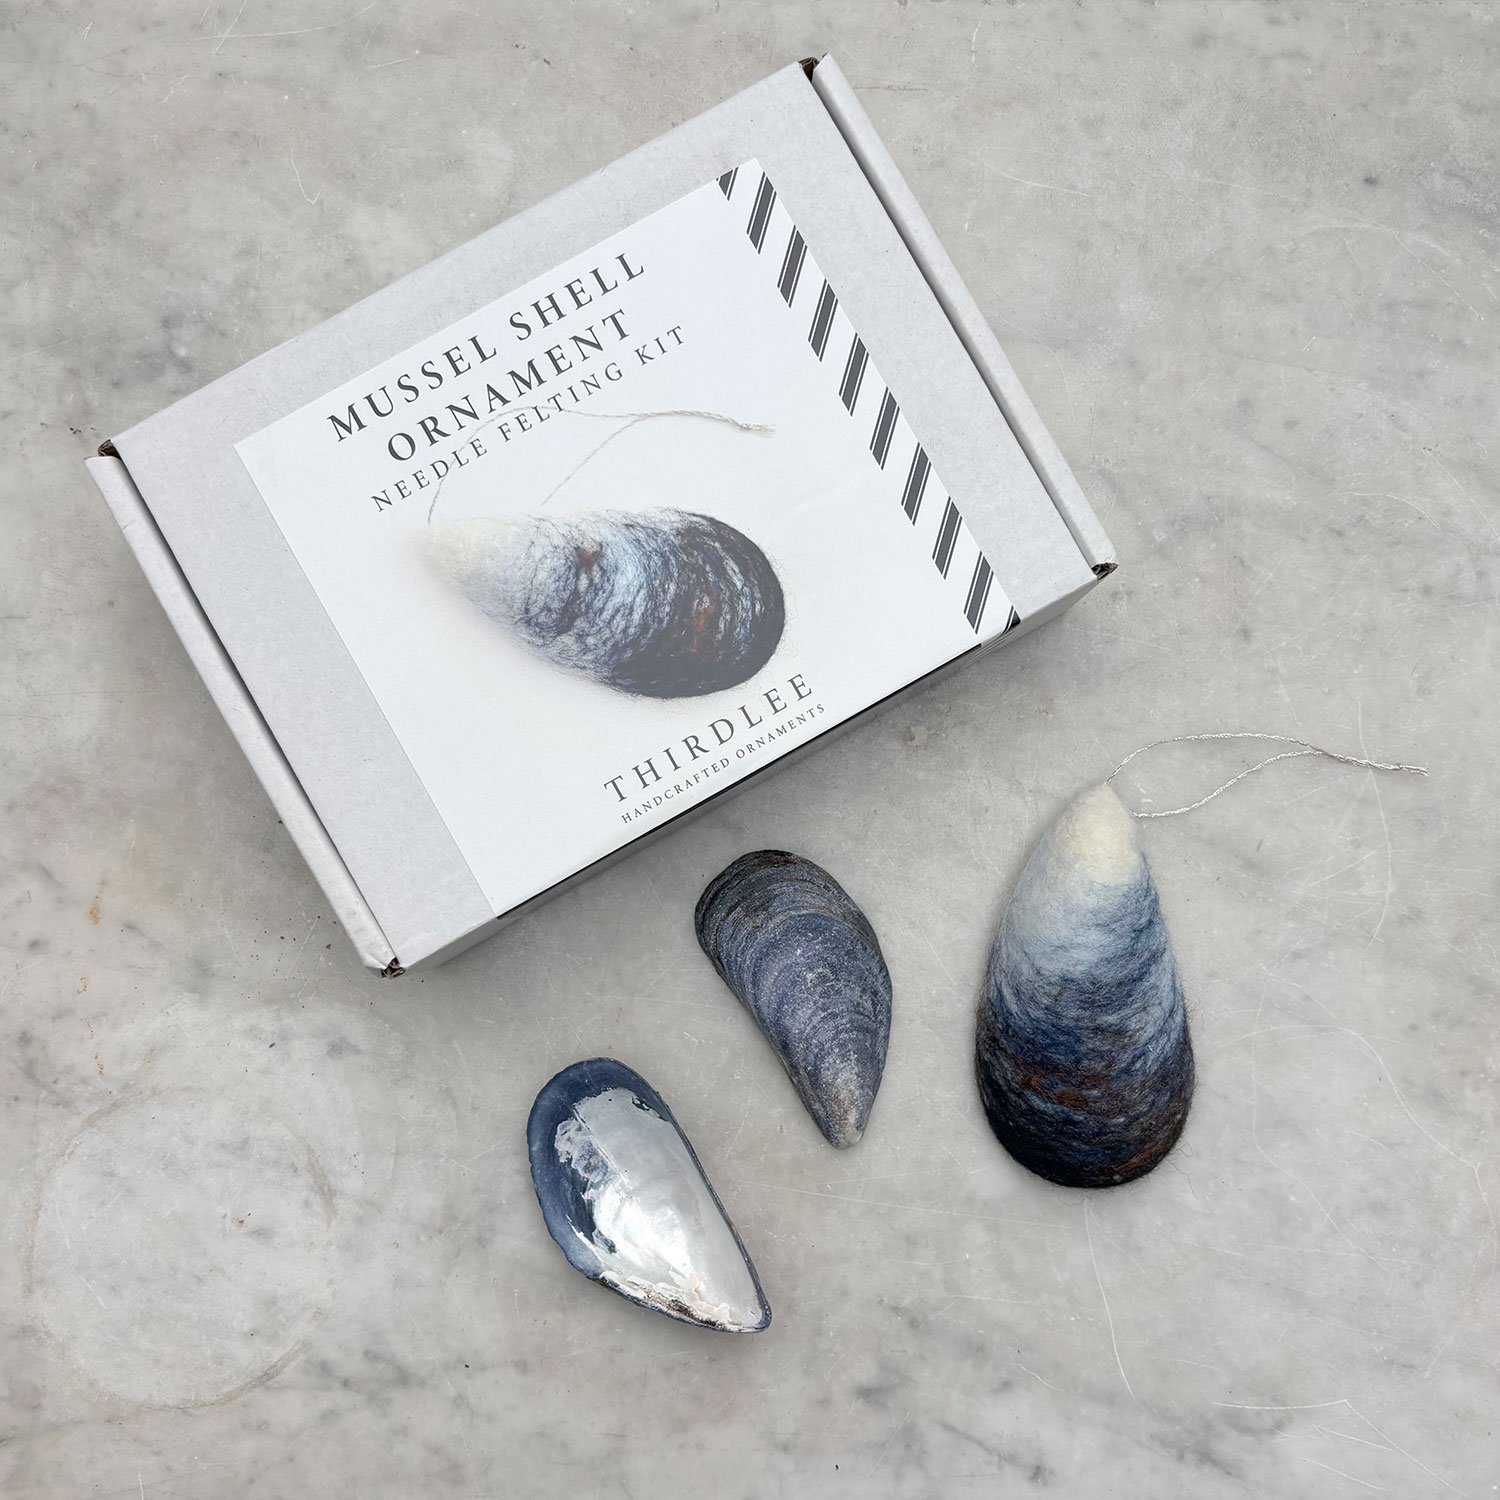
Try your hand at making one of my most popular Thirdlee ornaments! Learn how to sculpt a 3-dimensional mussel shell shape and the process of life-like color work through needle felting.
This is a great project for someone with some felting experience, but it is not necessary if you are able to read and follow the instructions.
Felting Time: 1 – 2 hours depending on your felting speed and skill level
Ornament Size: Approximately 3-4 inches
This Kit Includes:
More than enough wool for one ornament
A metallic thread hanging loop
2 felting needles (in case you bend or break one)
Detailed step by step directions with photos
A QR code for helpful felting tips and tricks and links to recommended tools
Link and password for online video tutorial
You Will Need:
A felting pad: I recommend a foam block like this or a wool mat like this.
Scissors
A large eye sewing needle like this or similar
This kit is designed for ages 12+ with adult supervision. Felting needles are extremely sharp, please work with caution.
This felting pattern is designed for personal use only. Commercial reproduction is strictly prohibited.
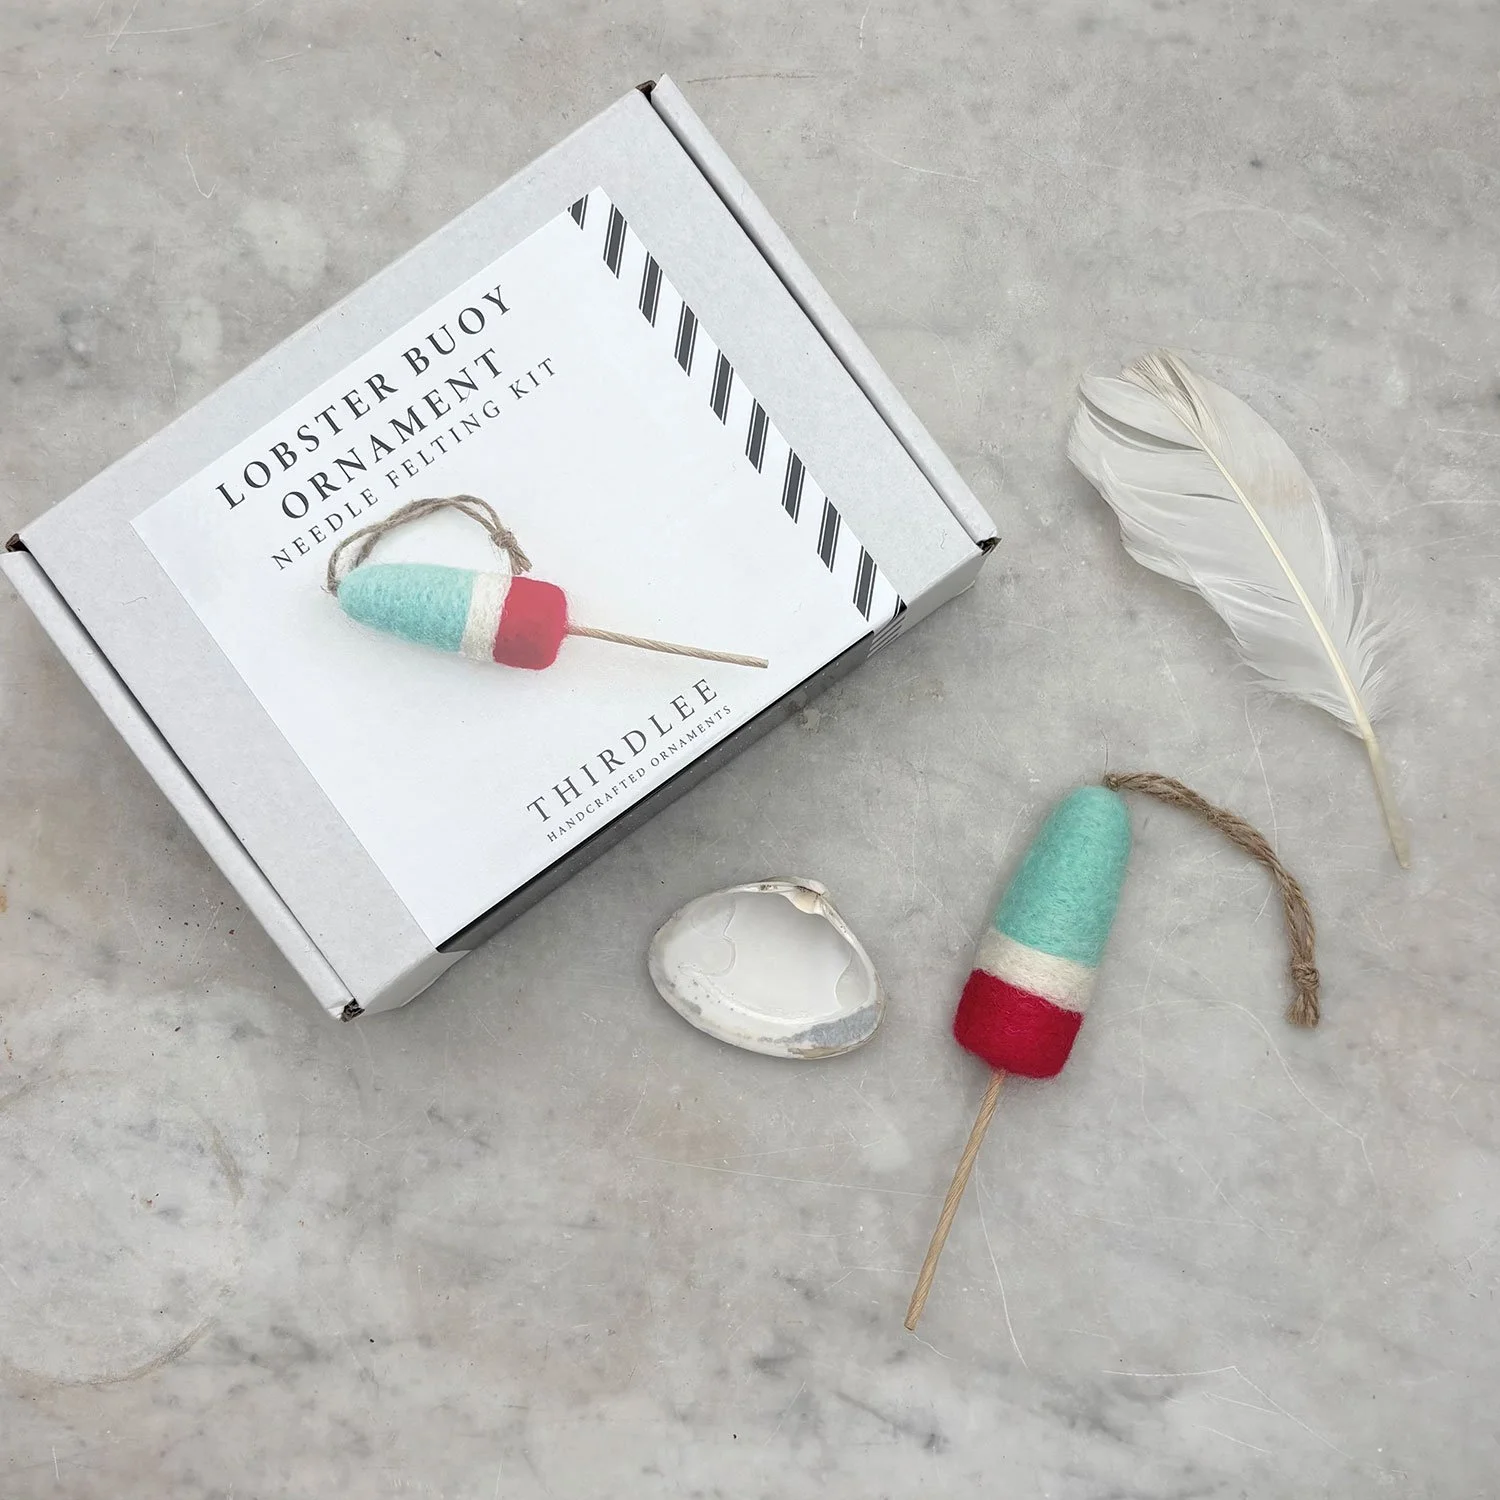
Learn how to make your own adorable lobster buoy ornament!
This is a great project for both beginners and experienced felters.
Felting Time: about 1 hour depending on your felting speed and skill level
Ornament Size: Approximately 4 inches
This Kit Includes:
More than enough wool for one ornament
A jute twine hanging loop
A wire stem
2 felting needles (in case you bend or break one)
Detailed step by step directions with photos
A QR code for helpful felting tips and tricks and links to recommended tools
You Will Need:
A felting pad: I recommend a foam block like this or a wool mat like this.
Scissors
A large eye sewing needle like this or similar